- Pet Food Dispenser With Camera: The Ultimate Way to Monitor Your Pet’s Meals! - November 16, 2023
- Automatic Pet Feeder With Timer: A Time-Saving Solution for Busy Pet Owners - November 16, 2023
- Pet Tracker for Small Dogs: Discover the Ultimate Solution for Tracking Your Furry Friend - November 16, 2023
To set up the Arlo Pro 4 XL Smart Hub, start by connecting it to your Wi-Fi network and power source. Then follow the instructions on the Arlo app to complete the setup process.
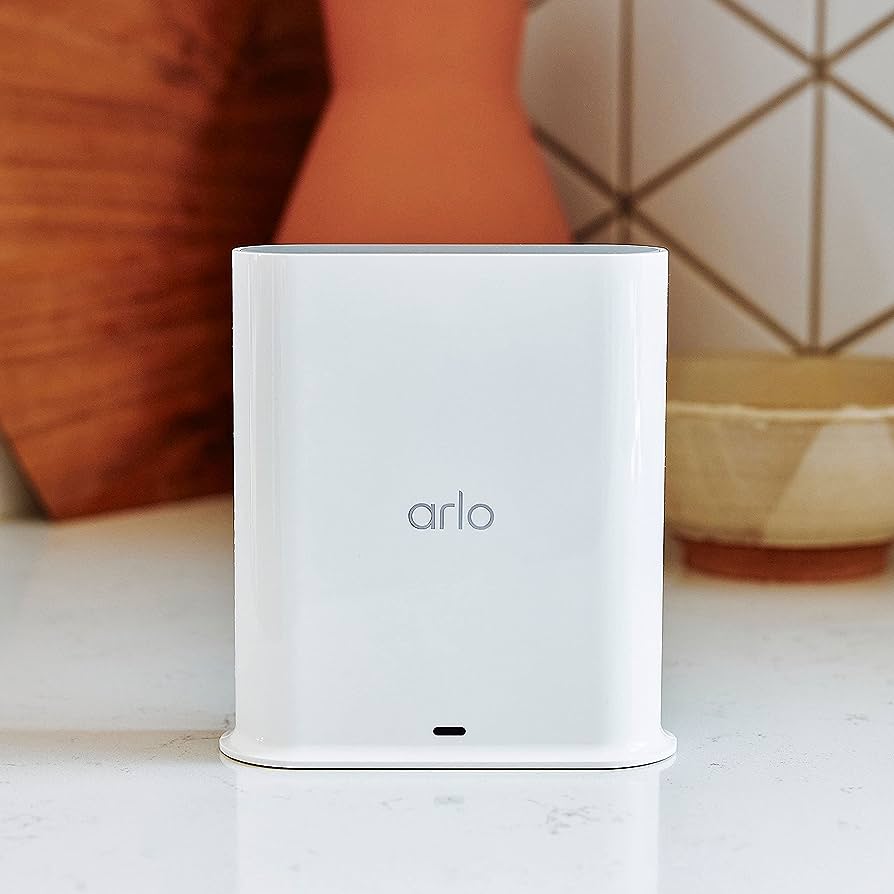
Introducing the Arlo Pro 4 XL Smart Hub, an advanced home security system that provides you with peace of mind. Whether you’re looking to protect your home or business, this smart hub offers easy installation and seamless integration with your existing Arlo devices.
In this guide, we’ll walk you through the simple steps to set up the Arlo Pro 4 XL Smart Hub, ensuring that your security system is up and running in no time. By following a few straightforward instructions, you can enjoy the benefits of a reliable and robust home security solution. So let’s get started with the setup process for the Arlo Pro 4 XL Smart Hub.
Understanding The Arlo Pro 4 Xl Smart Hub
Gain a comprehensive understanding of the Arlo Pro 4 XL Smart Hub and easily set it up for efficient use. Master all the steps required to make the most of this smart hub for your home or office.
Understanding the Arlo Pro 4 Xl Smart Hub:The Arlo Pro 4 Xl Smart Hub is an essential component of your Arlo Pro 4 Xl security system. It serves as the central hub that connects and controls all your Arlo devices, allowing you to monitor and manage your home or office security with ease. In this section, we will delve into the features, benefits, and technical specifications of the Arlo Pro 4 Xl Smart Hub.Overview Of The Arlo Pro 4 Xl Smart Hub Features
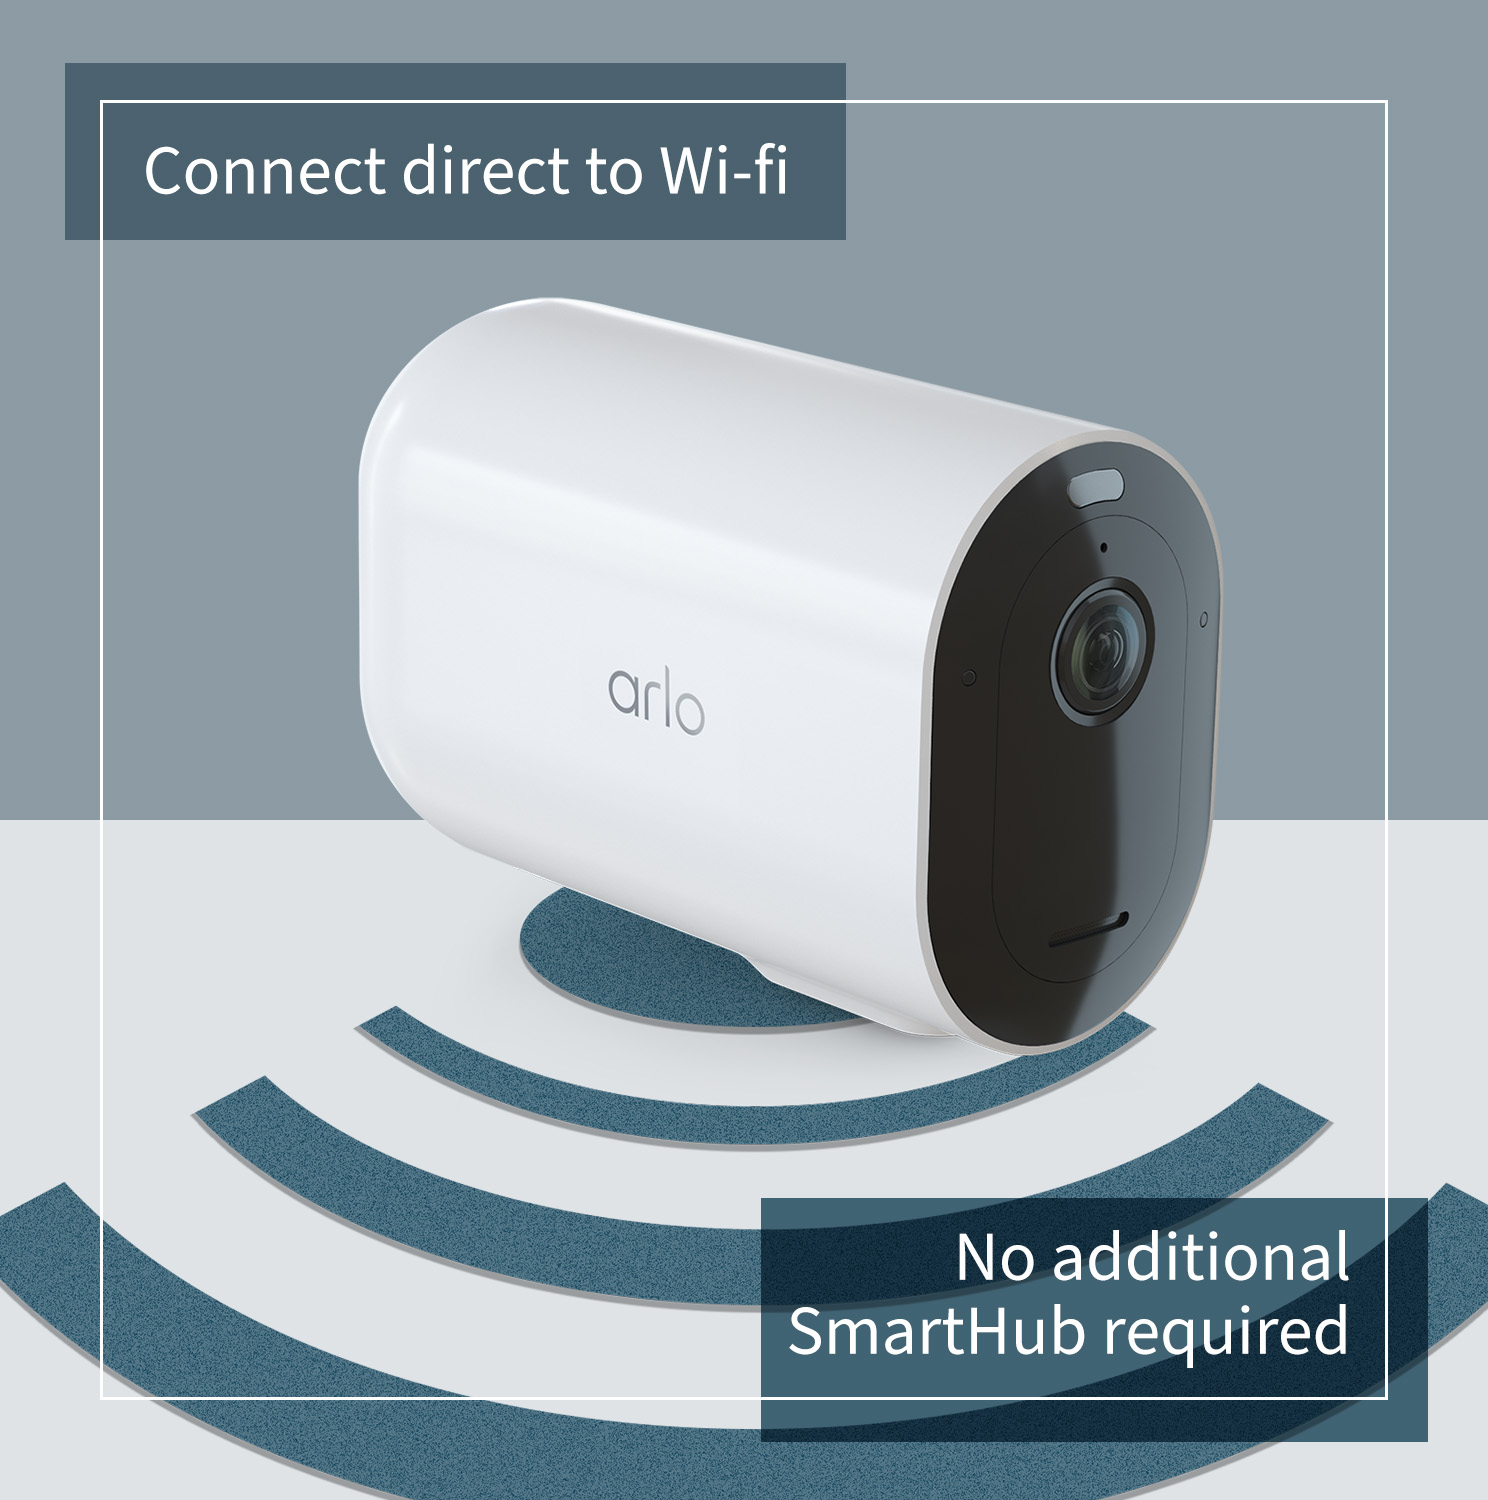
The Arlo Pro 4 Xl Smart Hub is designed with a range of features that enhance your security system’s capabilities. This hub acts as the bridge between your Arlo cameras, doorbells, and other devices, ensuring seamless communication and coordination. Let’s explore some of the key features of the Arlo Pro 4 Xl Smart Hub:– Wireless Connectivity: The Smart Hub connects wirelessly to your home network, eliminating the hassles of tangled wires and complicated installations.– Local Storage: This hub offers built-in storage for recording and storing your surveillance footage locally, providing peace of mind even if your internet connection goes down.– Improved Range: With an extended range of up to 600 feet, the Arlo Pro 4 Xl Smart Hub ensures that your cameras and other devices can be placed strategically without compromising on signal strength.– Expandability: The Smart Hub allows you to easily add and manage multiple Arlo devices, giving you the flexibility to scale your security system as per your needs.– Smart Home Integration:Benefits Of Using The Arlo Pro 4 Xl Smart Hub
The Arlo Pro 4 Xl Smart Hub offers several benefits that make it a valuable addition to your security setup. Let’s take a closer look at some of the advantages you can enjoy with the Arlo Pro 4 Xl Smart Hub:– Enhanced Convenience: With the Smart Hub, you can easily control and access your Arlo cameras and devices from a single centralized interface, simplifying your security management.– Reliable Security: The Smart Hub ensures reliable and robust communication between your Arlo devices, providing a secure and seamless surveillance experience.– Flexible Storage Options: In addition to local storage, the Arlo Pro 4 Xl Smart Hub also offers cloud storage options, allowing you to back up your footage and access it remotely.– Smart Notifications:Key Specifications And Compatibility
To ensure compatibility with your existing setup, it’s crucial to understand the key specifications and compatibility details of the Arlo Pro 4 Xl Smart Hub. Here are the key specifications you need to know:– Wireless Connectivity: The Smart Hub supports Wi-Fi and Ethernet connections, providing flexibility in how you connect your devices.– Camera Compatibility: The Arlo Pro 4 Xl Smart Hub is compatible with the Arlo Pro 4 Xl cameras and other Arlo Pro line devices, ensuring seamless integration and optimal performance.– Power Supply: The Smart Hub requires a power source for operation and comes with an AC adapter for your convenience.– Supported Platforms: The Arlo Pro 4 Xl Smart Hub works with both iOS and Android devices, allowing you to access and manage your security system from your smartphone or tablet.In conclusion, the Arlo Pro 4 Xl Smart Hub serves as a reliable and feature-packed central hub for your Arlo Pro 4 Xl security system. Its convenient features, multiple benefits, and wide compatibility make it an essential component for a robust and efficient home or office security setup.Setting Up Your Arlo Pro 4 Xl Smart Hub
Learn how to easily set up your Arlo Pro 4 XL Smart Hub for seamless home security. With simple steps and user-friendly instructions, you can have your smart hub ready to go in no time. Optimize your security system with Arlo Pro 4 XL.
Unboxing And Inspecting The Contents Of The Package
Before diving into the setup process, it’s crucial to unbox your Arlo Pro 4 Xl Smart Hub and inspect its contents to ensure everything you need is included. The unboxing experience is always exciting, as you unveil the devices that will enhance your home security. When you open the package, you should find the following items:
| 1 | Arlo Pro 4 Xl Smart Hub |
| 1 | Power adapter and cable |
| 1 | Ethernet cable |
| 1 | Quick start guide |
| 1 | Wall mount and mounting screws |
It’s essential to check if any of the items are missing or damaged. The integrity of the package ensures a smooth setup process, without any hindrances down the line.
Connecting The Arlo Pro 4 Xl Smart Hub To Power And Network
Once you’ve confirmed that all the necessary items are present, the next step is to connect your Arlo Pro 4 Xl Smart Hub to power and your home network. Follow these steps:
- Find a suitable location in your home for the smart hub, preferably near your Wi-Fi router for optimal signal strength.
- Connect one end of the power adapter cable to the smart hub’s power port and the other end to a power outlet.
- Take the Ethernet cable and connect one end to the smart hub’s Ethernet port.
- Connect the other end of the Ethernet cable to an available Ethernet port on your Wi-Fi router.
With the Arlo Pro 4 Xl Smart Hub connected to power and your home network, you’re ready to proceed to the next step of the setup process.
Configuring The Wi-fi Settings On The Smart Hub
To ensure your Arlo Pro 4 Xl Smart Hub can connect to the internet and function properly, it’s necessary to configure the Wi-Fi settings. Follow these simple steps:
- Upon connecting the smart hub to power and the network, wait for the LED lights on the front of the hub to turn solid green. This indicates that the hub is ready for configuration.
- On your computer or smartphone, open a web browser and visit the Arlo Pro 4 Xl Smart Hub setup page. The URL for the setup page is provided in the quick start guide.
- Follow the on-screen instructions to connect the smart hub to your Wi-Fi network. Enter your network’s SSID (name) and password when prompted.
- Once you’ve completed the Wi-Fi configuration, the LED lights on the smart hub should turn solid blue, indicating a successful connection.
After configuring the Wi-Fi settings, you can proceed to set up your Arlo Pro 4 Xl cameras and other accessories to complete your home security system.
Pairing Arlo Pro 4 Xl Cameras With The Smart Hub
Pairing your Arlo Pro 4 Xl cameras with the smart hub is a crucial step in setting up your home security system. This process allows the cameras to communicate with the hub, enabling you to monitor your property and receive alerts. In this guide, we will provide you with a step-by-step walkthrough, troubleshooting tips for common issues with camera pairing, and some suggestions to optimize the camera-to-hub connection.
Step-by-step Guide On Pairing Cameras With The Smart Hub
Follow these simple steps to pair your Arlo Pro 4 Xl cameras with the smart hub:
- Make sure your smart hub is powered on and connected to your network.
- Place the camera within 3 to 6 feet of the smart hub.
- Open the Arlo app on your mobile device and sign in to your account.
- In the app, tap the “+” icon to add a new device.
- Select “Add Camera” and choose “Arlo Pro 4 Xl” from the list of available devices.
- Follow the on-screen instructions to scan the QR code on the camera or manually enter the serial number.
- Once the camera is recognized, give it a name and customize any settings you prefer.
- Repeat these steps for each camera you wish to pair with the smart hub.
- After all the cameras are paired, you can position them in the desired locations for optimal coverage.
Troubleshooting Common Issues With Camera Pairing
If you encounter any difficulties while pairing your Arlo Pro 4 Xl cameras with the smart hub, try the following troubleshooting steps:
- Ensure that the camera is within range of the smart hub and the Wi-Fi signal is strong.
- Check that the camera is powered on and has fully charged batteries.
- Restart both the camera and the smart hub.
- Reset the camera by pressing the reset button for 10 seconds and then try pairing it again.
- If the issue persists, contact Arlo customer support for further assistance.
Tips For Optimizing The Camera-to-hub Connection
To ensure a stable and reliable connection between your Arlo Pro 4 Xl cameras and the smart hub, consider these tips:
- Place the smart hub in a central location, away from obstructions and interference.
- Use the 5 GHz Wi-Fi band if available, as it generally provides faster and more stable connections.
- Keep the cameras within a reasonable distance from the smart hub to minimize signal degradation.
- If you have multiple cameras, position them strategically to avoid overlapping signals.
- Regularly check for firmware updates for both the cameras and the smart hub to ensure you have the latest features and improvements.
Configuring Arlo Pro 4 Xl Smart Hub Settings
Learn how to set up the Arlo Pro 4 Xl Smart Hub with ease by configuring the settings. Simply follow the step-by-step instructions to optimize your smart hub and enjoy seamless security.
Exploring The Different Settings Options Available
When it comes to configuring your Arlo Pro 4 Xl Smart Hub, you have a wide range of settings options at your disposal to customize your security system according to your preferences. By exploring and understanding these settings, you can ensure that your Arlo Pro 4 Xl is tailored to meet your specific needs. Let’s take a look at the various configuration options available.
Customizing Motion Detection And Notification Settings
Motion detection and notification settings play a crucial role in keeping you informed about any activity detected by your Arlo Pro 4 Xl Smart Hub. By customizing these settings, you can fine-tune how your system detects motion and alerts you whenever activity occurs. Take advantage of the following options to personalize your motion detection and notification settings:
- Sensitivity Levels: Adjust the sensitivity level to control how your Arlo Pro 4 Xl responds to motion. Higher sensitivity levels will detect even the slightest movement, while lower levels may require more noticeable activity before triggering a notification.
- Activity Zones: Define specific areas within the camera’s field of view where you want motion to be detected. Any movement occurring within these designated zones will trigger a notification, allowing you to focus on the areas that matter most.
- Notification Preferences: Choose how you want to be notified when motion is detected. Whether it’s through push notifications on your mobile device, email alerts, or even audible alerts on your Arlo Pro 4 Xl Smart Hub, you have the flexibility to select your preferred notification method.
Setting Up Schedules For Recording And Arming/disarming
With the Arlo Pro 4 Xl Smart Hub, you have the ability to create schedules for recording and arming/disarming your security system. This feature ensures that your system is active only when you want it to be, providing you with ultimate control and convenience. Follow these steps to set up schedules:
- Recording Schedule: You can specify the times and days when your cameras will record video footage. This allows you to capture important events and reduce unnecessary recording during idle periods. Simply navigate to the settings menu and select the desired recording schedule for each camera.
- Arming/Disarming Schedule: By setting up an arming schedule, you can define when your Arlo Pro 4 Xl Smart Hub activates or deactivates its monitoring capabilities. This is particularly useful if you have regular periods when you do not require surveillance, such as when everyone is home. Access the settings menu and configure the arming and disarming schedule to align with your needs.
By configuring the Arlo Pro 4 Xl Smart Hub settings to explore different options, customize motion detection and notification settings, and set up schedules for recording and arming/disarming, you can optimize your security system. Enjoy the peace of mind that comes with knowing your Arlo Pro 4 Xl is working exactly the way you want it.
Integrating Arlo Pro 4 Xl Smart Hub With Other Devices And Platforms
Setting up the Arlo Pro 4 Xl Smart Hub is just the beginning of creating a smart home ecosystem that truly elevates your home security. With its advanced capabilities and versatile connectivity options, you can seamlessly integrate the smart hub with other devices and platforms. In this section, we will explore how you can connect your Arlo Pro 4 Xl Smart Hub to your existing smart home ecosystem, integrate it with popular voice assistants like Google Assistant and Amazon Alexa, as well as explore third-party integrations and the vast possibilities they offer.
Connecting The Smart Hub To Your Existing Smart Home Ecosystem
One of the key advantages of the Arlo Pro 4 Xl Smart Hub is its ability to integrate smoothly with your existing smart home devices. Whether you already have smart lights, door locks, or even a home automation system, incorporating the smart hub into your setup is effortless. To ensure a seamless integration, follow these steps:
- Ensure that your existing devices and the Arlo Pro 4 Xl Smart Hub are connected to the same Wi-Fi network.
- Open the Arlo app on your smartphone and navigate to the settings menu.
- Select “Smart Hub” and choose “Add Device”.
- Follow the on-screen instructions to scan for and add your existing smart devices.
- Once your devices are added, you can now control and manage them directly from the Arlo app or through voice commands.
Integrating With Voice Assistants Like Google Assistant And Amazon Alexa
Transforming your Arlo Pro 4 Xl Smart Hub into a voice-activated security system is easier than ever thanks to the integration with popular voice assistants like Google Assistant and Amazon Alexa. By connecting your smart hub to these voice assistants, you can control your security cameras, manage settings, and even receive alerts using simple voice commands. Here’s how to integrate your Arlo Pro 4 Xl Smart Hub with Google Assistant and Amazon Alexa:
- Open the Google Assistant or Amazon Alexa app on your smartphone and navigate to the settings menu.
- Select “Add Device” or “Skills & Games” respectively.
- Search for “Arlo” in the list of available devices or skills, and select it.
- Follow the on-screen instructions to link your Arlo account with Google Assistant or Amazon Alexa.
- Once the integration is complete, you can start using voice commands to control your Arlo Pro 4 Xl Smart Hub and its connected devices.
Exploring Third-party Integrations And Possibilities
Want to take your Arlo Pro 4 Xl Smart Hub to the next level? Look no further than exploring third-party integrations and the endless possibilities they offer. With the rapid growth of the smart home industry, there are numerous platforms and devices that can enhance the functionality of your smart hub. Some popular third-party integrations include:
- IFTTT (If This, Then That): With IFTTT, you can create custom automation rules that connect your Arlo Pro 4 Xl Smart Hub with various other devices and platforms, enabling advanced functionalities and automations.
- SmartThings: By integrating Arlo Pro 4 Xl Smart Hub with SmartThings, you can expand your smart home ecosystem and control a wide range of devices using a single hub.
- Apple HomeKit: If you’re an Apple user, you can integrate your Arlo Pro 4 Xl Smart Hub with HomeKit for seamless control through Siri and the Apple Home app.
These are just a few examples of the vast possibilities for third-party integrations. Explore the options that best suit your needs and preferences, and unlock new levels of convenience, security, and automation in your smart home ecosystem.
Credit: www.arlo.com
Frequently Asked Questions For How To Set Up Arlo Pro 4 Xl Smart Hub
How Do I Set Up Arlo Pro 4 Xl Smart Hub?
To set up Arlo Pro 4 XL Smart Hub, first, power on the smart hub by connecting it to a power source. Then, connect the smart hub to your router using an Ethernet cable. Download and launch the Arlo app on your mobile device, follow the prompts to create an account, and then add the smart hub to your account.
Finally, sync your Arlo Pro 4 XL cameras with the smart hub.
What Are The Benefits Of Arlo Pro 4 Xl Smart Hub?
Arlo Pro 4 XL Smart Hub offers several benefits, including support for up to 16 Arlo cameras, extended battery life, improved video quality, and enhanced security features. With the smart hub, you can enjoy reliable and seamless connectivity, advanced motion detection, and customizable settings for optimal surveillance.
How Can I Access Arlo Pro 4 Xl Smart Hub Remotely?
To access Arlo Pro 4 XL Smart Hub remotely, simply open the Arlo app on your smartphone or tablet. From the app, you can view live streams from your connected cameras, receive motion and audio alerts, review recorded footage, adjust settings, and even communicate with people near your cameras using the built-in two-way audio feature.
Stay connected and in control, no matter where you are.
Conclusion
Setting up the Arlo Pro 4 XL Smart Hub is a breeze with these easy steps. By following our guide, you’ll be able to enjoy the advanced features of this smart hub in no time. From connecting the hub to your network to pairing it with your Arlo cameras, we’ve covered everything.
Simplify your home security with Arlo Pro 4 XL Smart Hub today!